
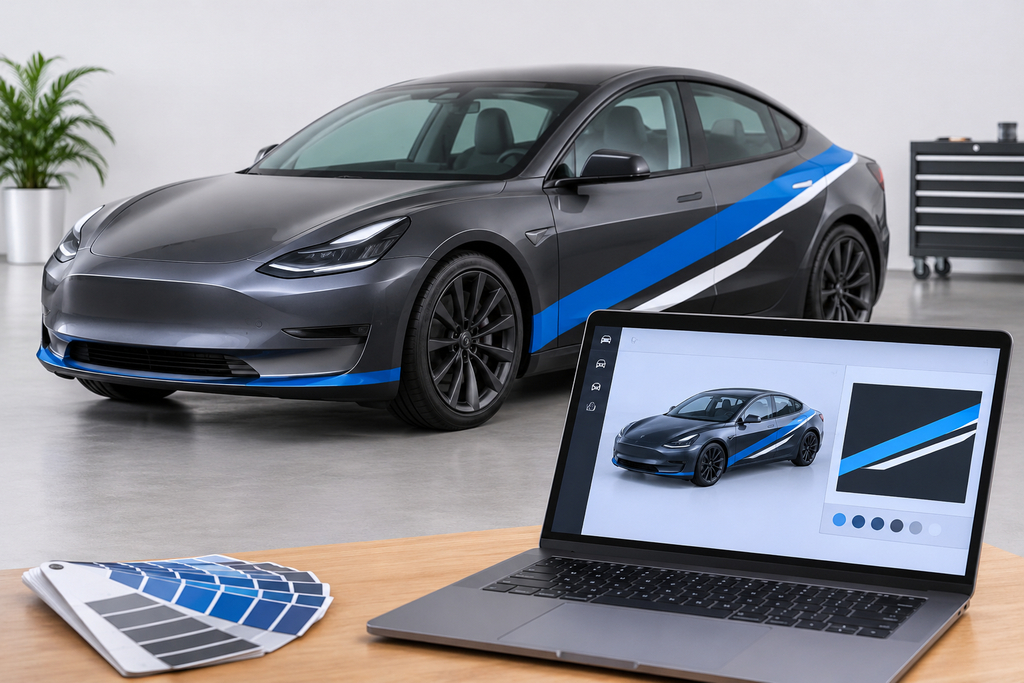
While a digital Tesla wrap seems to look interesting when enclosed in your editing software. you also figure out that during preview on your car touch screen that looks different. this basically reason in template displayed wrong dimension for your car. The misplaced graphics and settings are not rightly exported.
The wrap will not actually change the paint on your car, but it allows owners to personalise the 3D appearance of the vehicle using Tesla Paint Shop. Before you finalize, attempt to figure out the issues raised and ensure the portion is properly fixed.
If your graphite and teal wrap is used for display, you may be questioning how to fix the alignment issue. This makes text more legible and creates a PNG file to upload.
Open the Tesla wrap editor from Tesla Wrap Designer and select the vehicle and template version you want to use.
Start with a graphite base and a broad teal accent. Keep small text and complicated patterns out of this first version. You can use large color areas to make misplaced artwork easier to notice.
Rotate the preview and uncover the accent on the doors, front, and rear. If several areas look misplaced, revisit the template sampling before moving individual graphics.
Retain this simple version as a reference. Later, it will help you tell whether an issue appeared with the template or with newly added artwork.
Describe the fault specifically before making shifts. For example: The teal stripe jumps upward behind the door offers you something to explore. The wrap looks wrong. It provides nothing.
| What you notice | What to check | Practical next step |
| Large areas emerged on unexpected surfaces | Vehicle model and template version | Verify the selection before repositioning artwork |
| A stripe jumps at a panel edge | Placement across neighboring template regions | Alter the affected section or simplify the transition |
| Text reads incorrectly on one side | Orientation of the individual text fragment | Examine each side and rectify the affected lettering |
| Small details fade in a lowered preview window | Graphic size, spacing, and contrast | Enlarge the defining feature or remove distracting detail |
Check obvious distortion from several angles. A shape that looks squeezed in a slanted view may look correct when viewed straight.
Change one variable at a time. It verifies an improved result will signify to you which improvement solved the concern.
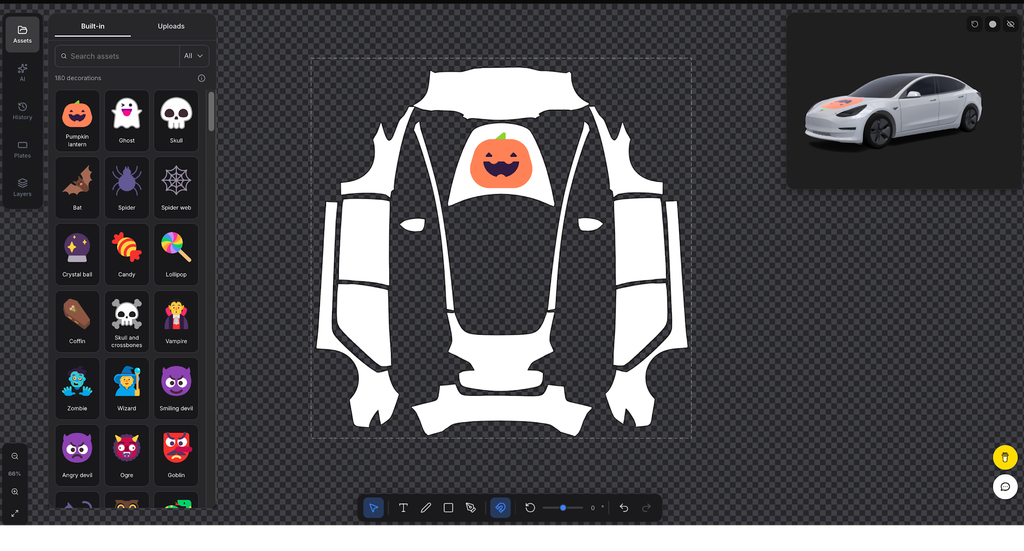
A thin stripe reveals alignment problems more readily than a broad color field. If it crosses a difficult boundary, inspect where the two sections coincide.
For the graphite-and-teal example, compare the stripe’s height and orientation on either side of the interruption. Decide whether continuity is crucial. An intentional gap may suit the composition better than forcing a line through an uncomfortable area.
Where available, use the editor’s placement and scale controls to adjust the affected element. If the required correction is unavailable, revise the original design in a separate image editor and bring it back.
Avoid resizing the whole composition to repair one transition. That often moves graphics that were already positioned correctly.
Inspect words and numbers individually on both sides. Check spelling, reading direction, and whether every character remains complete.
Scale down the preview. If the text becomes unreadable, increasing sharpness alone will not solve the problem. Shorten the phrase, increase the size, or remove nearby distractions.
A short identifier usually needs less space than a full project name. Decide how much text to use according to the space available and its importance to the design.
Keep important lettering away from areas where curves or sudden surface changes make it difficult to read.
Sometimes the template and placement are correct, but the artwork itself lacks a clear structure. Preserve the working base and replace only the weakest part.
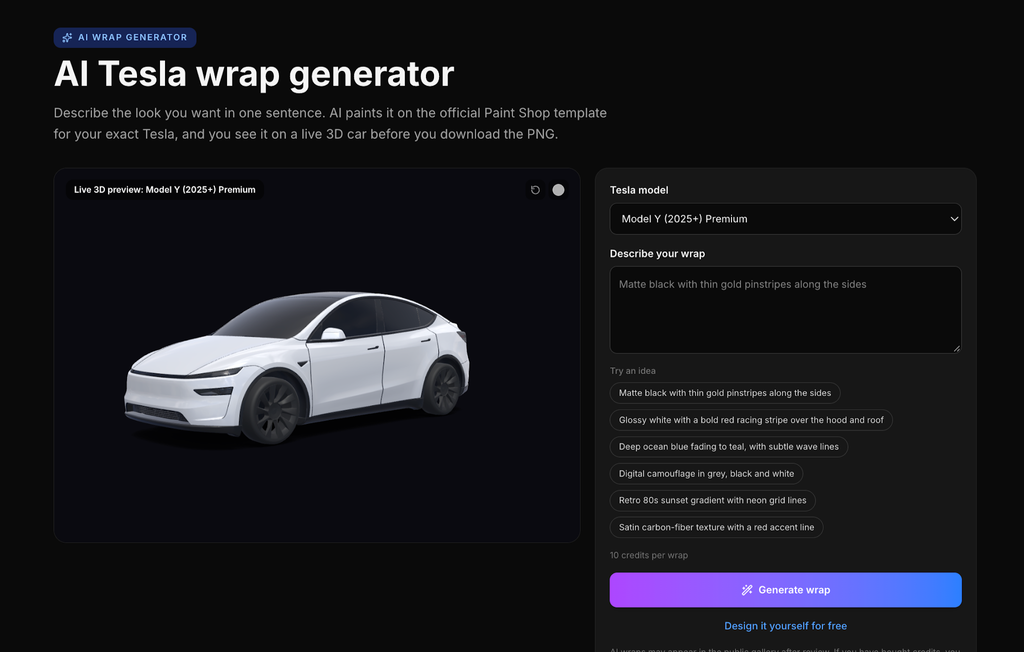
You can Generate Tesla wraps with AI when you want an alternative motif. A focused description gives you a better idea of what you are looking for.
“Graphite car graphic with a single teal wedge near the back quarter. Front half visually simpler with crisp geometric edges, and leave most of the canvas empty. Exclude words, badges, and recognizable characters.”
Judge the output against those instructions. If several competing wedges appear, simplify the configuration before adding segments. Keep the front quiet enough for the rear accent to remain the focal point.
Manual editing, 3D inspection, and PNG export are available without charge; AI requests use credits. First establish whether a placement adjustment will solve the issue, then consider generating alternate artwork.
If the preview looks correct but the vehicle rejects the file, investigate the handover process.
Export the finished design as a PNG using the Paint Shop-compatible settings provided by the tool. Keep that download intact while checking the current requirements for your vehicle’s software and open import direction.
For app uploads, check that you are using Tesla app version 4.59.0 or above, then select Creations → Wrap → Upload. For USB transfers, the PNG belongs inside a folder named Wraps at the drive’s root, not inside an additional nested project folder. Select transferred artwork from Toybox → Paint Shop → Wraps in the car.
Renaming a different image does not make it a compatible export. Altering dimensions or converting the file after downloading introduces another possible source of failure.
If a transfer fails, check the file’s PNG format, pixel dimensions, byte size, and filename against the functional requirements. For USB, also check the supported drive format and folder location. Leave the composition unaffected until those file-handling questions are settled.
Use distinct filenames for revisions. When testing a replacement, record which file you selected and what happened. This prevents an older download from being misinterpreted for the recent correction.
Once the PNG is open in Paint Shop, apply it with the car stationary.
Review the overall layout first, followed by the motif and text. Compare the same viewing angle in the browser where possible; different perspectives can make a correctly placed graphic appear inconsistent.
If teal blends into graphite on the touchscreen, strengthen the contrast in the original design. If a number is clipped, investigate its sequence instead of adjusting the palette.
Record one visible issue, make one targeted issue, and compare again. This makes the revision process coherent.
The outcome remains the same as a digital appearance. Neither the PNG nor its preview demonstrated how a physical wrap would look or supplied everything needed to produce it on vinyl.
Track the template information, original artwork, and final PNG together. Label the approved version clearly so the next correction starts from the correct file.
Troubleshooting becomes faster when each modification replies to a specific observation. Preserve what already works, isolate the fault, and judge the change on the display where the wrap will be used.
Tesla Wrap Designer is an independent tool and is not associated with Tesla, Inc.
Ans: No. Using your own artwork provides a valid starting point. Text-based generation is an additional option when you want to investigate another visual projection.
Ans: Check that side’s artwork orientation and positioning. If the problem concerns several irrelevant areas, revisit the vehicle template before editing individual elements.
Ans:First verify the uploaded file and the applicable import requirements. Reconstructing the composition again will not resolve an unsupported format or an incorrect transfer process.
