How to Blur Background on iPhone? Try 3 Different Ways to Make Your Photos Visually Appealing
Want to take a perfect photo, but the background seems to be pretty crowded? You can give your picture a pro look with a blurred background.
With the iPhone’s latest and older models, you can either directly capture the picture in blur mode or edit the background later and can use them for Instagram photography.
So now, if you don’t know how to blur the background on an iPhone and make your images stunning, here are the 3 best solutions for you. Follow these methods, showcase your photography skills, and get a wonderful shot!
Method 1: With iPhone’s Portrait Mode
You can bring the subject into the limelight simply by de-focusing the background and to do so, just switch to the Portrait mode in the iPhone’s camera. First introduced in iPhone 7 Plus, the feature is now available in iPhone 8 Plus, X, and newer models. The Portrait Mode uses dual-lens systems that give your photo a classic portrait effect. Here are the simple steps for how to blur a picture on an iPhone without an app:
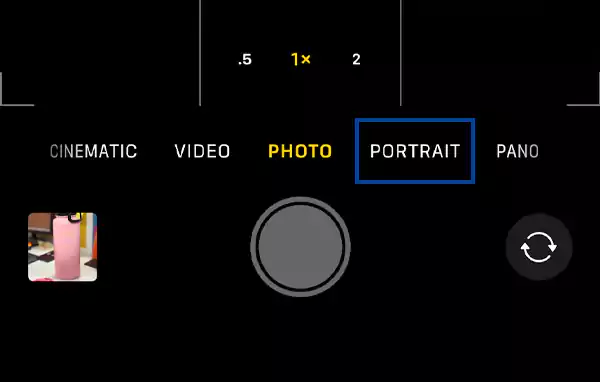
- First, open the iPhone’s camera app and switch to Portrait mode by swiping through the bottom grid.
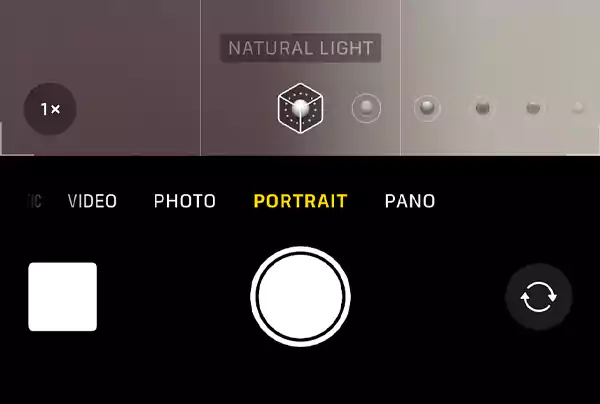
- Now, you’ll see a menu above the Shutter button containing different lighting, including studio, natural, contour, etc. Select anyone from them.
- Then, point your camera on the subject and follow the on-screen instructions regarding the distance.
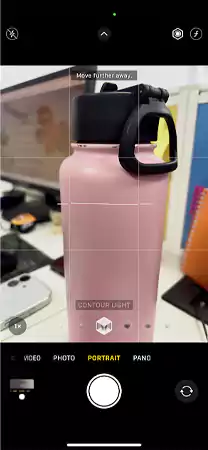
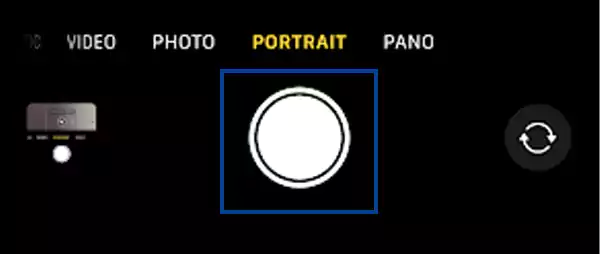
- Once the lighting banner turns yellow, it means the Portrait mode has determined the subject. Simply press the shutter button at this moment, and you’re done.
Tips
If possible, prefer to take the Portrait picture without turning on the flash on your iPhone during the night photography, as this will enhance the effect and depth of the picture.
Adjust the Background Blur While Taking a Picture
Are you using the iPhone XS, XR, 11, or later versions? Here’s some add-on information for you that includes adjusting the amount of blur in your pictures with the exclusive Depth Control feature. It uses bokeh to blur the background and is available on iPhone XS, XS Max, Xr, and newer models. To access this feature:
- From the upper right corner of the screen, tap on the f-stop button.
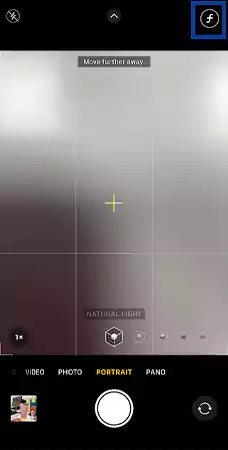
- You will see a depth-of-field slider above the shutter button; drag it to the right to increase or left to decrease the blur level of the picture.
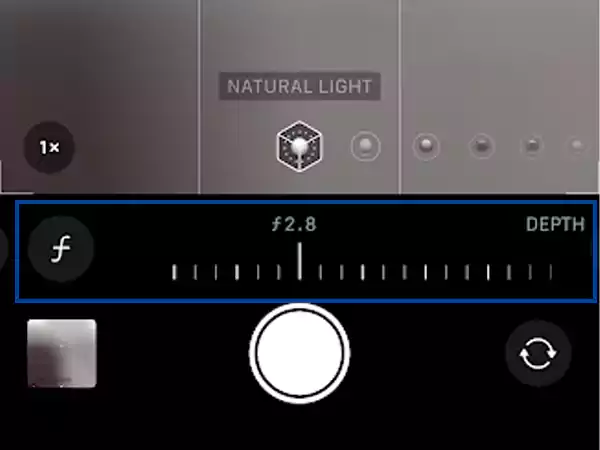
- Once done, fix your camera and hit the shutter button to capture the perfect shot.
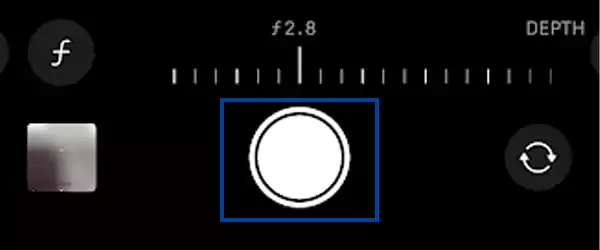
Apart from adjusting the depth, you can also experiment with lighting effects like Natural Light, Studio Light, Contour Light, Stage Light, etc. available in the Portrait mode to make it more dramatic.
Adjust the Background Blur After Taking a Photo
On an iPhone, you can blur the background after taking a photo as well. Yes, if you have iPhone XS, XR, and newer models, the Depth Control feature also lets you adjust the amount of background blur in your photos once they are saved to your phone’s gallery. To do this, follow the given process:
- First, open the picture in the Photos app on your iPhone and hit the three horizontal lines from the bottom.
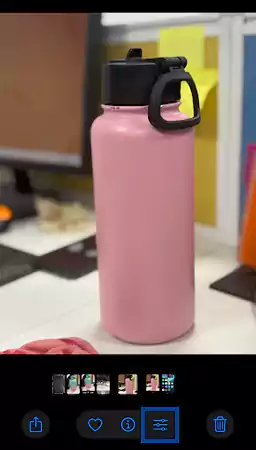
- This will display the Depth Control Slider. Drag it to make necessary adjustments to blur level. A black dot on the slider will represent the original depth value for the photo.
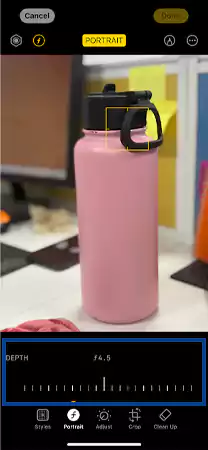
- Finally, tap Done to save the image with changes.
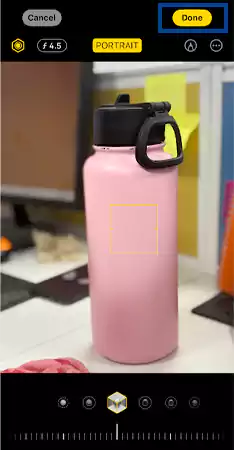
Note ❗
Depth adjustment on a photo in an iPhone can only be done if you’ve previously captured it in the Portrait mode. The feature does not work for pictures taken in the photo mode.
Also Read: Learn How to Hide Photos on iPhone to Protect Your Privacy
Method 2: Placing the Subject Closer to the Lens
Are you using an older version of the iPhone with no portrait feature? Nothing to worry about! Here’s the solution for how to blur the background on an iPhone without portrait mode; you just have to get the perfect shot by getting closer to the subject. Yes, that’s it. This will shallow the field depth so that the lens can focus on the small portion only.
Let us make you understand with some steps:
- Open your iPhone’s camera and stand about 4 feet away from your subject.
- Frame the shot and tap on the subject to create the best focus and lighting.
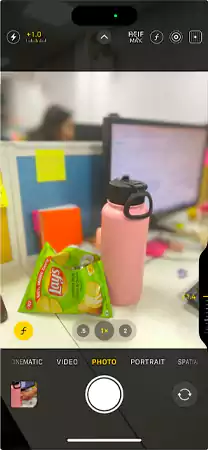
- Move closer and when you get the best result, tap on the shutter button.

The standard shooting distance to get a blurred background should be between 0.5 and 2 meters. So, if you get too close to the subject, the camera won’t be able to focus at all.
Do You Know?
On the latest versions, iPhone 15 Pro and Plus, and all models of iPhone 16, you can make exciting GIFs and use Genmojis with your picture to add more fun to your chats.
Method 3: Using Third-party Apps
Forget about the model of the iPhone you are using. Thanks to several third-party apps such as Snapseed, Lightroom, Picsart, Canva, etc. that allow you to make chaotic backgrounds blurred.
Here, we will tell you how to blur the background of a picture on an iPhone with the help of Snapseed. Simply start with installing the app from the App Store and continue with the given process:
- Open the app, and tap the screen to open the phone’s Gallery.

- Choose the required photo from there to make adjustments.
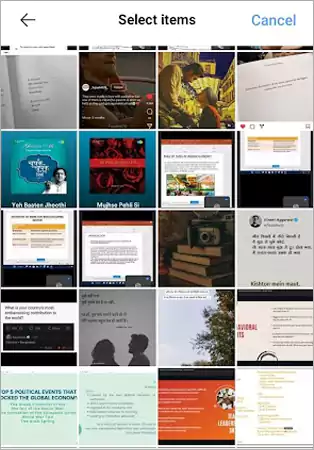
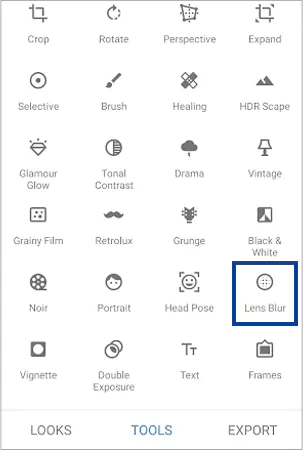
- Navigate to the Tools section from the bottom.

- Scroll through the options and select Lens Blur.
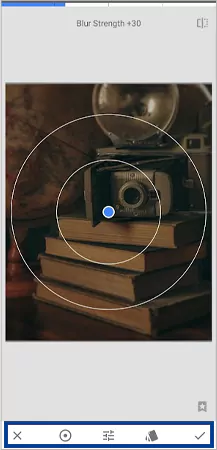
- Now, from the bottom grid, select blur shape—linear or elliptical—and also adjust the blur strength, transition, vignette strength, and style as per the need. You can also pinch your fingers to manipulate the size, shape, and rotation of the focus.
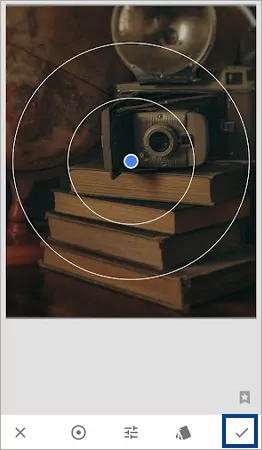
- Once, you are satisfied with the editing, tap on the checkmark in the lower right corner.
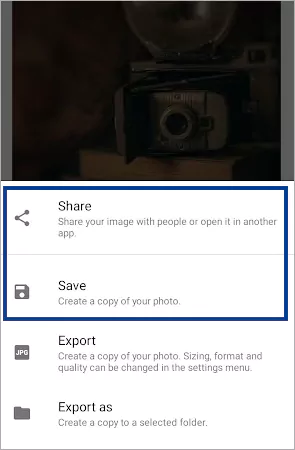
- Then, select the Export option.

- Finally, share or save the image.
You can also use the double exposure tool to create a blurry effect on your photo. Furthermore, these third-party apps offer several other editing features, filters, effects, text options, invert the picture, and much more to make your picture look like a pro.
Also Read: iPhone Camera Blinking? Try These 12 Solutions to Fix It!
Let’s Wrap Up!
Now, you are aware of how to blur the background on an iPhone using the Portrait mode, camera focus adjustment, or simply with the help of some free third-party editing apps. No matter which model you’re using, eliminating the background crowd is very easy for everyone.
Apart from blurring the background, you also use the Vignette feature to make edges dark or an object removal tool to edit the background chaos.
So, let’s explore these exclusive methods and features to add unique spice to your photos and make them stand out from old, boring images!
FAQs
Ans: Yes, you can access the Depth Control feature for the photos taken in Portrait mode. However, there is no dedicated blur tool for images taken in photo mode.
Ans: If you’ve taken the picture in Portrait mode, you can make the background blur with Depth Control; otherwise, you can use a third-party app like Snapseed, Picsart, etc. for this.
Ans: To blur out part of a picture on an iPhone, you need a third-party tool: Select the blur >> choose the shape >> pinch your fingers to adjust the blur on a particular part >> save.
Ans: Yes, for this, select the photo you want to change and then Edit >> Portrait >> Done.
Sources:
