Photos have a unique ability to preserve life’s moments, but occasionally, they require adjustments to highlight their true essence. By cropping an image, you can concentrate on specific details to convey the story. If you want to share on social media platforms or create presentations, cropping photos on a Mac can help you effectively.
This detailed guide will provide you with 3 efficient methods on how to crop images on Mac, using the integrated Photos app, the versatile Preview app, and exploring third-party platforms for more advanced editing capabilities.
The Photos app is your one-stop shop for all of your photo editing needs on the Mac. It has an easy-to-use interface and cropping tools, making it ideal for beginners and casual editors.
Follow the step-by-step process to learn how to crop on Mac using the Photos app:
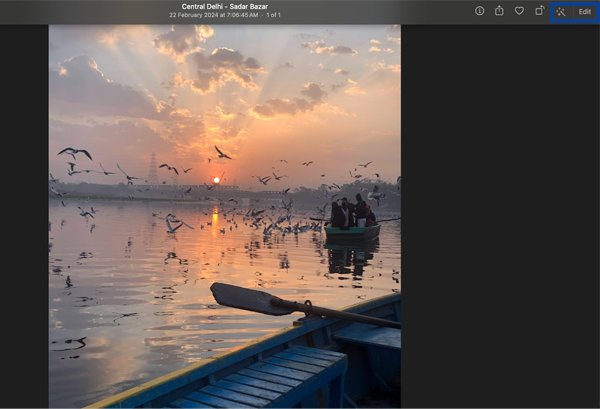
Step 1: Double-click the picture in the Photos app on your Mac, then select Edit from the toolbar.
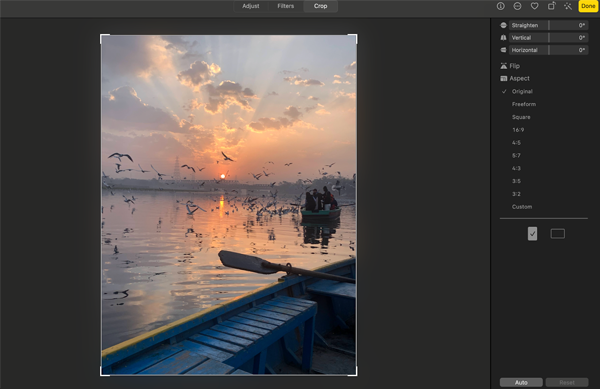
Step 2: From the toolbar, select Crop. You can also press C while editing to quickly see the crop and straighten tools.

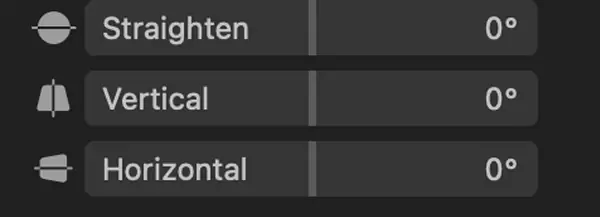
Step 3: Now, you can access all the cropping and straightening tools.
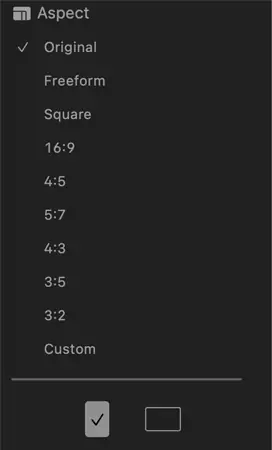
Step 4: Now you can crop the image in different ways, take one of the following actions:

Step 4: If you want to remove the current changes from the photo, you can click on the Reset button from the bottom right corner.
Step 5: Finally, if you are satisfied with the changes, click on Done to save your changes.
Remember, you always have the option to move back to the original image. You just need to click on the Revert to Original button.
Note: When you crop a photo in the Photos app, its appearance will change across all albums, slideshows, and projects. To make edits without affecting all versions, start by creating a duplicate of the photo and then edit the duplicate copy.
Preview on your Mac is a useful tool for more than just viewing images. It also allows you to make basic edits like cropping. Here’s how to crop photos on Mac using Preview:
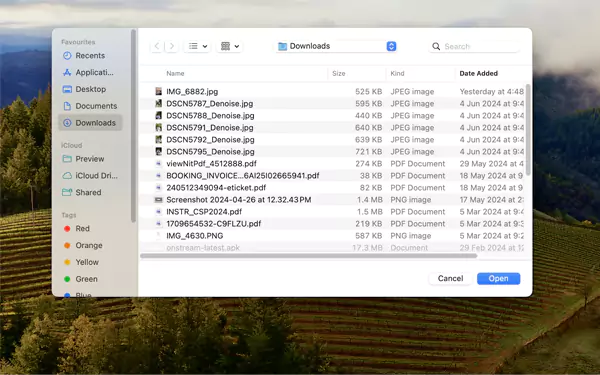
Step 1: Open the Preview app and load the image you want to edit.
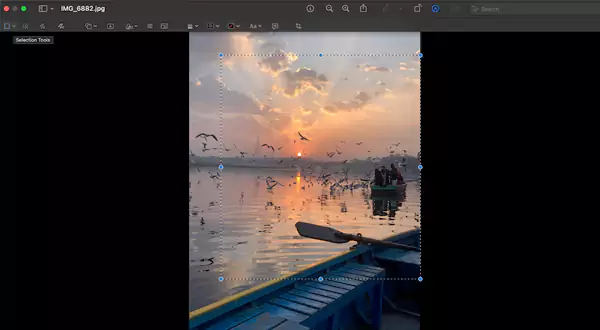
Step 2: Click on the Markup button in the top toolbar.

Step 3: Then, click on the Selection tool and drag to select the area of the image you want to keep. Adjust the selection by dragging its edges or corners. You can also flip the selection if needed.
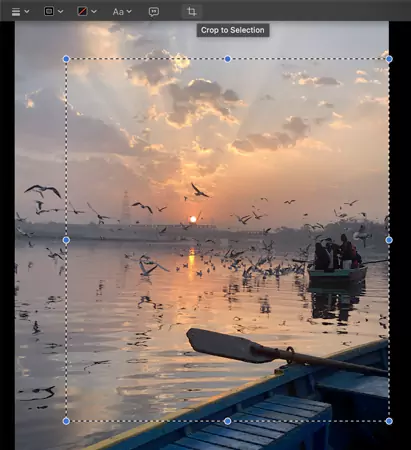
Step 4: Click on the Crop button to finalize your selection.
Step 5: To save your cropped image, go to the File menu, choose Export, select your preferred format and location, and then click on Save.
Finally, your crop preview image will be saved to the desired location.
The Photos and Preview apps come with good cropping features for basic editing tasks. However, if you’re looking for more advanced editing capabilities, exploring third-party photo editing software opens up a wider range of options.
These advanced tools offer precise control over cropping. You can experiment with different aspect ratios beyond what Photos provides, rotate images for unique perspectives, and use other advanced editing features.
Here are some popular third-party options:
If you’re a casual user who needs basic cropping, the built-in Mac options are perfectly adequate. However, if you’re seeking more extensive editing experience, third-party software might be a valuable investment for you. You can use different third-party apps to edit videos on Mac.
Also Read: How to Delete or Remove Messages on Mac or MacBook- [6 Quick Ways]
Now that you know how to crop a photo on Mac, here are some compelling reasons why cropping photos is required.
By learning how to crop on Mac, you can control the appearance of your photos.
Also Read: How to Fix Touch Bar on MacBook Pro Using 10 Unique Methods
While cropping an image on Mac, you should consider the following points:
These are some tips you should use and keep in mind to improve your cropping skills and get the best outcome after editing.
In conclusion, cropping images on a Mac is a simple process. Using Preview, the Photos app, or other third-party tools, you can accomplish that with ease. Figure out your requirements and choose the suitable method to crop an image on Mac.
This editing trick helps make your photos better by focusing on what matters, fixing composition, and getting rid of distractions. Simply stick to the tips mentioned in this article and your cropped photos will look sharp and professional.
We hope you found this article useful to learn how to crop an image on Mac; please share it with your friends and family too.
Read Next: How to Sync Messages From iPhone to Mac in? [Simplified Guide]
Ans: You can press C while editing the image in the Photos app and use Command + K in Preview to access the tools.
Ans: Yes, batch processing tools such as Adobe Lightroom or custom Automator workflows can crop multiple images at once.
Ans: Yes, you can use the Revert to Original feature in the Photos app to undo a crop.
Ans: Different platforms have specific requirements. For instance, Instagram prefers 1:1, while Facebook and YouTube prefer 16:9.
Ans: Preview and the Photos app are free tools included with all Macs, offering basic yet effective cropping capabilities.
Sources: