Screenshots have become the most integral part of our daily work routine, whether you’re doing research or illustrating a function to someone. Screenshots make work easier and store information for you as well.
Even if you lose a page, a screenshot is going to stay and help you later. If you’re writing a research paper, screenshots help in boosting the accuracy of the material. You can not only take screen grabs but also take screen videos, make GIFs, and draw or edit.
There is a misconception that the Snipping tool for Mac is not provided by Apple. However, it is not loaded with a lot of features but it is quite useful for people who want to take a quick screen or video grab.
This in-built tool provides a number of features with some short keys to perform the functions effortlessly. Read more to get an idea of how to snip on Mac.

This is a reference table for your smooth understanding of screenshots on MacBook –
| Action | Tool |
| Captures the entire screen |  |
| Captures a window |  |
| Captures a portion of the screen |  |
| For whole screen recording |  |
| Records a portion of the screen |  |
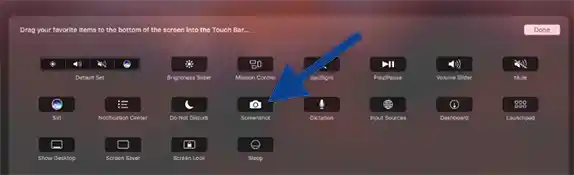
This command will open the option shown above in the image, here you can see 5 different options for taking a screen grab on your Mac. The first option from the left allows you to capture the whole screen, and the second screen from the left allows you to take a selected window on the screen.
The one option in the center allows you to take portions selected on your screen. The last two buttons with the dots on the right are for screen recording, the second last option will allow you to capture the whole screen in the video, while the last from the right option will let you capture a portion of the screen in a video form.
However, if you don’t want all the options and wish to jump directly to a particular screenshot key, you can press Shift + Command + 3 and capture an entire screen, with Shift + Command + 4, you can take a screenshot of a portion on your screen, this key will allow you to move the pointer on wherever you want to take a grab.
In case you want to capture a window or menu bar, press Shift + Command + 4, then press the spacebar, then move the pointer to the place you want to highlight.
If you have a MacBook with a touch bar, you don’t need to always press the keys and take screenshots, you can add Mac’s screenshot app to your touch bar by these simple steps:
Tip – You can take a screenshot and copy-paste it wherever you want then and there, just press Shift + Command + Control + 3.
In case, you want to try out any other third-party application for more features, read further –
Although the screenshot app on Mac performs well, it provides some basic features only, if you want to opt for a professional snipping tool for Mac, including both free and paid apps, here are some options to choose from –
This application allows users to capture videos, webcams, GIFs, and images. Cloud app is both available in free and paid form. This app is available for Mac, iOS, and chrome.
While the free membership provides some basic features like not-so-good video quality and a maximum length of video capturing is up to 1min 30secs, paid membership provides more features.

Lightshot is a free snipping tool for all Mac, Windows, and Chrome users. It is one of the simplest tools to use.
Lightshot offers some decent editing tools to its users, however, it lacks variations when it comes to capturing videos and images.
Movavi screen recorder 2025 app also comes in both free and subscription ranges, the premium plans for Movavi start from $42.95 to $99.95.
This app lets you capture videos and images and play with them.
Monosnap application provides all the essential snipping features to its users. It is free for a single user and charges a maximum amount of $5/per month for commercial usage.
Greenshot is a lightweight screenshot software app, for both Mac and Windows for free. It has some key features which make the user’s snipping work easier.

Cleanshot is a snipping software tool designed for MacBooks. It provides over 50 features for snipping. With this app, you also get cloud space according to the plan you purchased. It is one of the best options for work use. The subscription plans are up to $25.
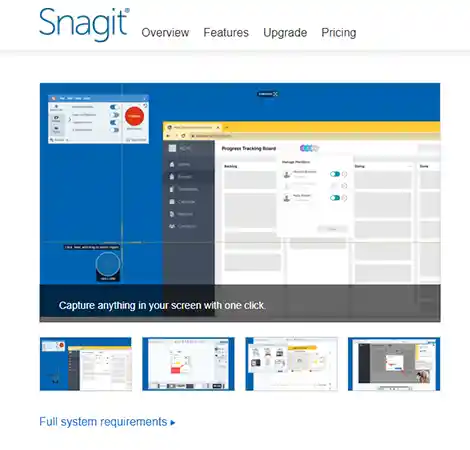
Snagit is a snipping software for both Mac and Windows. The Techsmith company owns it. You can sign up for a free trial, however, the paid version gives a lot of benefits like Snagit experts, webinars, etc. The premium plan costs around $63.
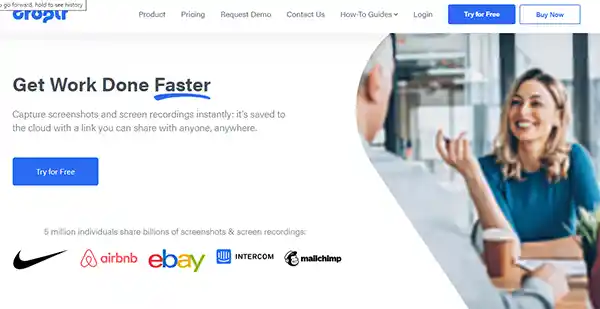
Droplr is a professional snipping software tool, it caters to a lot of organizational features for businesses. You can opt for a three days trial, after that you’ll have to choose a plan.

Capto provides a number of features to its users like area video capturing and video editing. The plans for Capto start from $10.2. It does not provide any free trials.
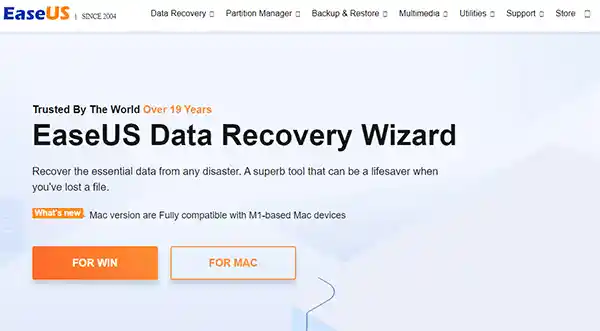
With over 20 million users, EaseUS is one of the most preferred software for snipping. It gives a trial period of 30 days to its users and provides different plans for home and commercial use. EaseUS is available for both Windows and Macbooks.
Screenrec app is available for Windows, Linux OS, and Mac OS as well. It is a freely available app and easy to use. You can snip, edit and share all through the app.
TextSniper is more than a snipping software, this app provides features like turning image texts into plain texts and more. TextSniper provides a variety of plans to buy. Or, you can use it for free via Setapp.
TinyTake is one of the finest options for snipping software. Users can capture and annotate images and videos and also directly upload content through the app. Although the app is also available for free, there comes certain conditions. Users can buy their plans starting from $29.95.
Flameshot is a freely available application, accessible on all Windows, Mac OS, and Linux OS. It is easy to use and customizable.
Markup Hero is a snipping software available on all platforms like Windows, Mac OS, Linux OS, and Chrome. It provides the feature of signing in without adding any account to its users. Markup Hero provides a number of perks.
SnapNDrag is one of the easiest snipping tools available for Mac OS. Its plan costs around $9.99. It provides several features to its users.
Above mentioned were numerous tools for your Macbook for your next screenshot or screen recording. If you don’t want to spend money on any snipping application, you can opt for the free ones.
You have definitely heard of GIFs around you on social media. Or, at some point, you also must have shared a GIF with your family or friends. GIF (Graphics Interchange Format) is a kind of animated image file, usually along with the text.
If you also want to create a GIF on your Macbook, this technique will help you in making one –
The recorded GIF will pop up in Menubar’s tab. Or you can also use some third-party apps to make GIFs more engaging.
There’s always a way to find solutions to a problem. If you think your device like your mobile or laptop lacks any features, there’s always an alternate or a third-party app for rescue.
Ans: Press Shift + Command + 5 > Click on Options > Click on Other Location > Choose your preferred location > Click Save.

Ans: If you don’t want to save your taken screenshot and send or paste it to your required place, you can press Ctrl while taking a screenshot, then press Command + V to paste it to the other location.
Ans: After taking a screenshot on your Macbook, a thumbnail on the bottom right of the corner appears, select the thumbnail > select the Crop icon > select the room you want to keep > press Done.